WMS layer data
The ESDL MapEditor provides basic functionality for adding WMS layers. This information will be shown on the map and can then be used as input information to design your energy system. WMS layers can be hosted by any external server or you can install your own ARCGIS server or use the open source geoserver.
WMS layers can be organized per project or for personal use only.
Show WMS layers on the map
From the ‘View’ menu, select ‘WMS layers’

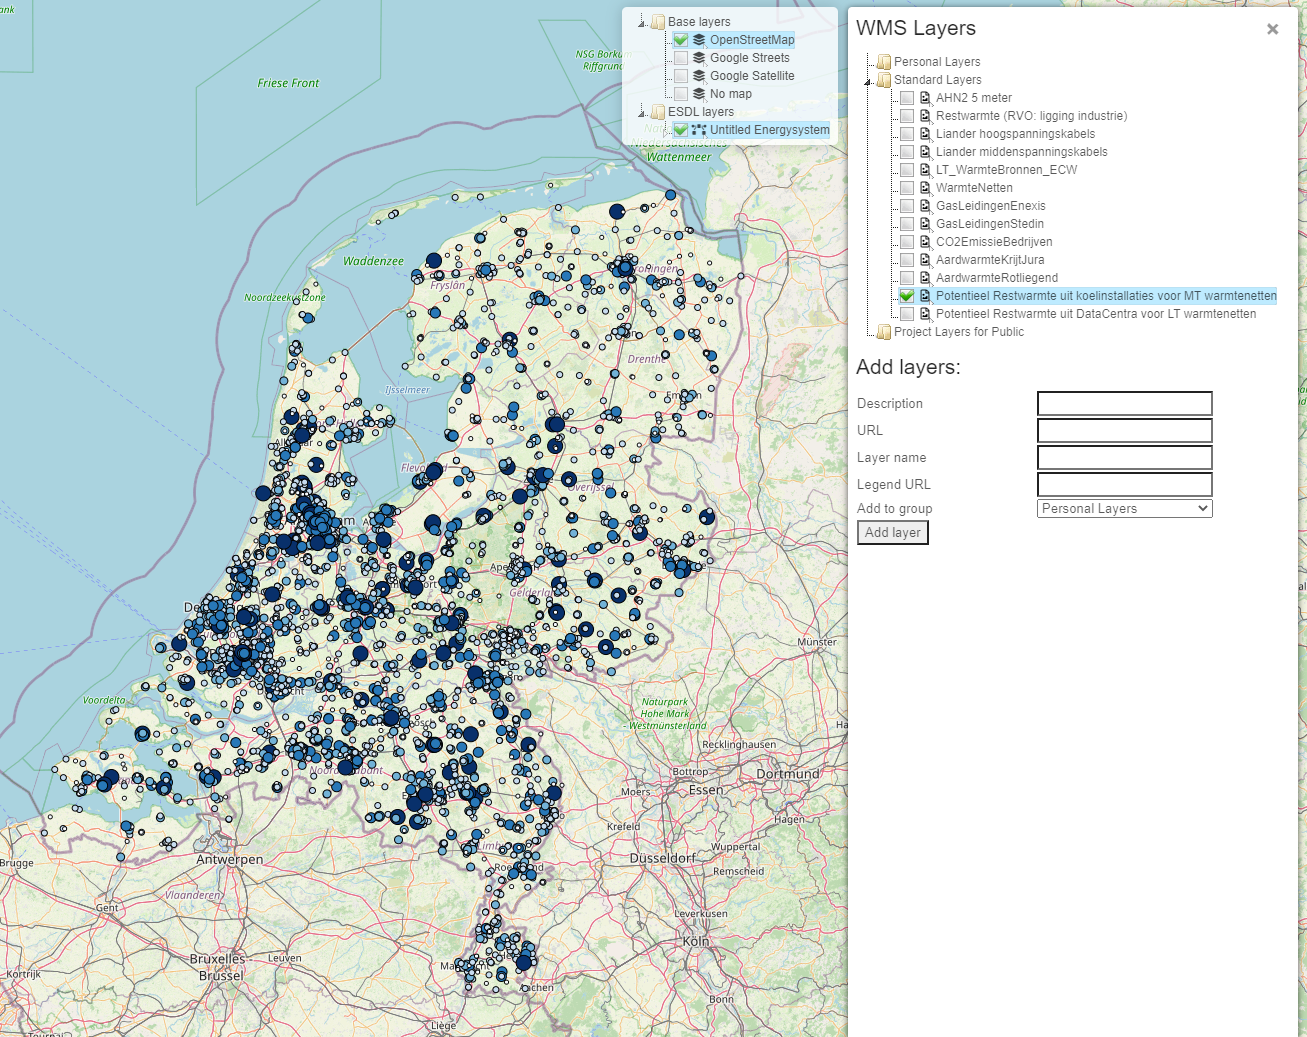
The following dialog will open:
Click any layer from the list to visualize the information on the map
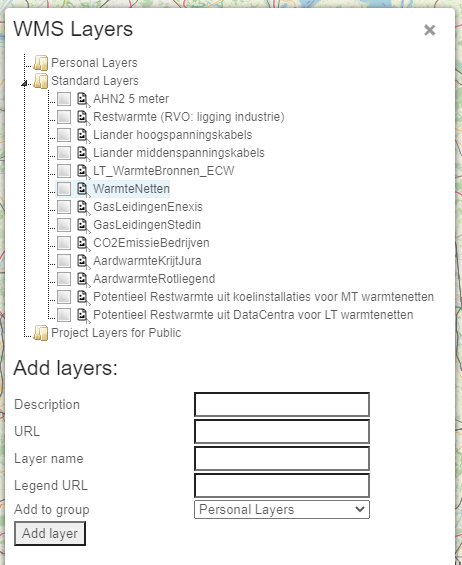
Adding new layers
To add a new layer, the following information must be filled in:
Description: Name of the layer that is used in the list with all WMS layers
URL: URL of the server where the WMS layer is hosted. See example configurations for the format
Layer name: Name of the layer on the server that needs to be visualized
Legend URL (optional): URL of the legend image that belongs to the layer
Add to group: To determine where this new layer will be added
Click ‘Add layer’ button to save the layer configuration.
Example configurations are:
Example layer from the ‘Nationaal Georegister’:
Description: AHN2 5 meter
Layer name: ahn2_5m
Legend URL: -
Example layer from the ‘Warmte atlas’
Description: LT_WarmteBronnen_ECW
Layer name: LT_WarmteBronnen_ECW
Legend URL: -
Example layer from Thermogis
Description: Thermogis layer 1
URL: http://www.thermogis.nl/arcgis/services/thermogis/ThermoGIS_WMS/MapServer/WmsServer?
Layer name: 1
Legend URL: -
Example layer from PICO
Description: PICO Hoogspanningsnet 2018
Layer name: Hoogspanningsnet_2018
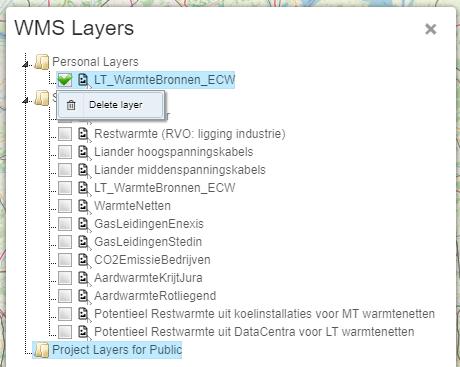
Deleting layers
Right click with the mouse on a layer name and click ‘Delete layer’